Why the Security Line Stalls - and How to Avoid It
The security checkpoint is where most first-time travelers lose their confidence. The conveyor starts moving, strangers are watching, and suddenly you can't remember if your water bottle is empty or whether your laptop needs to come out. The good news: nearly every delay is predictable and preventable with a small amount of preparation done before you reach the front of the line.
Small missteps at the airport - wrong bag packing, forgotten items, unprepared electronics - are the most common causes of checkpoint slowdowns. Understanding what officers are looking for helps too. See our guide on what airport security is actually checking for to go in with realistic expectations.
Consider TSA PreCheck for Frequent Travel
If you expect to fly more than a couple of times a year, TSA PreCheck is worth exploring. Enrolled travelers use a dedicated lane where shoes, laptops, and liquids can typically stay in the bag. Enrollment involves a background check and in-person appointment, with a multi-year membership fee. Visit the TSA website directly for current eligibility details and enrollment locations.
Step-by-Step: Moving Through Security Smoothly
Follow these steps in order. The earlier you start preparing - ideally while you're still in line - the faster you'll clear the checkpoint without holding anyone up.
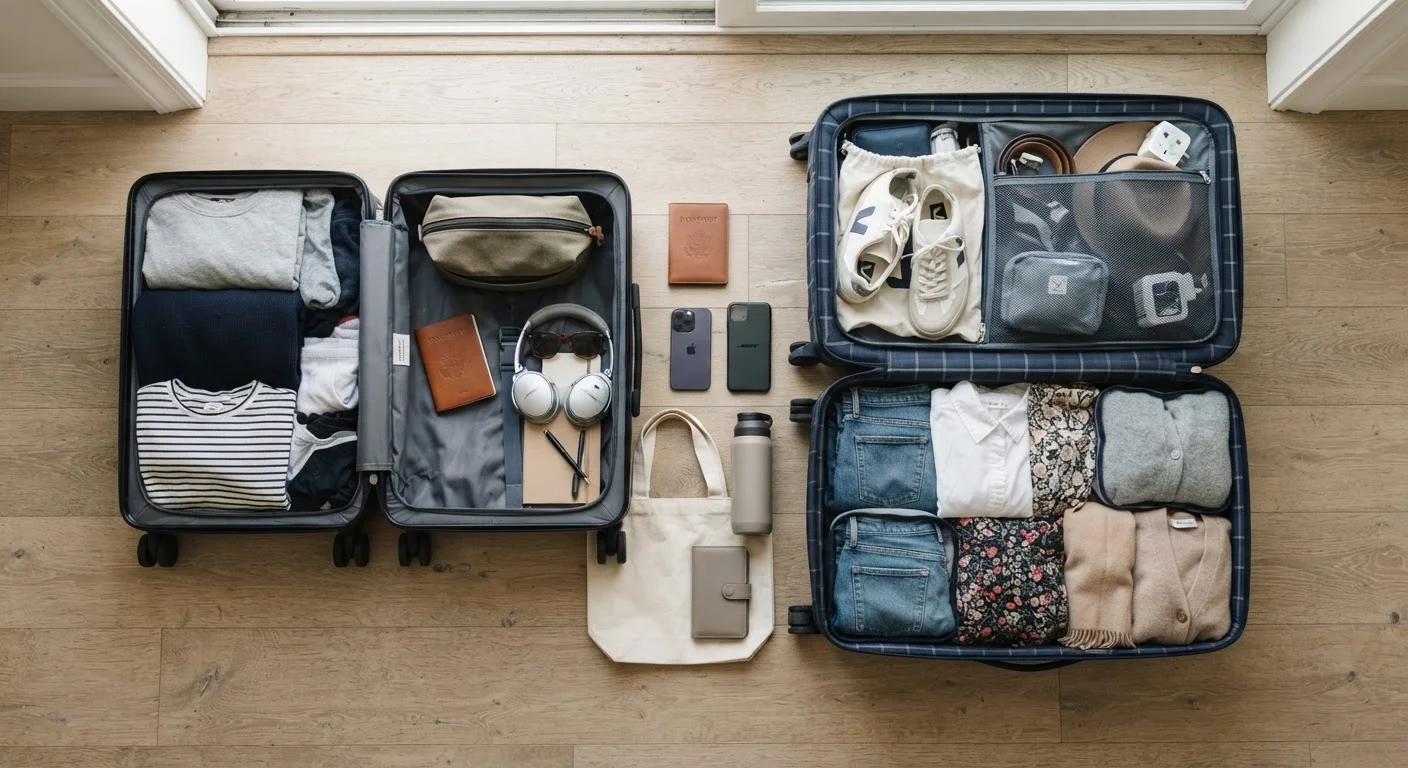
What you will need
Pack your liquids bag before you leave home
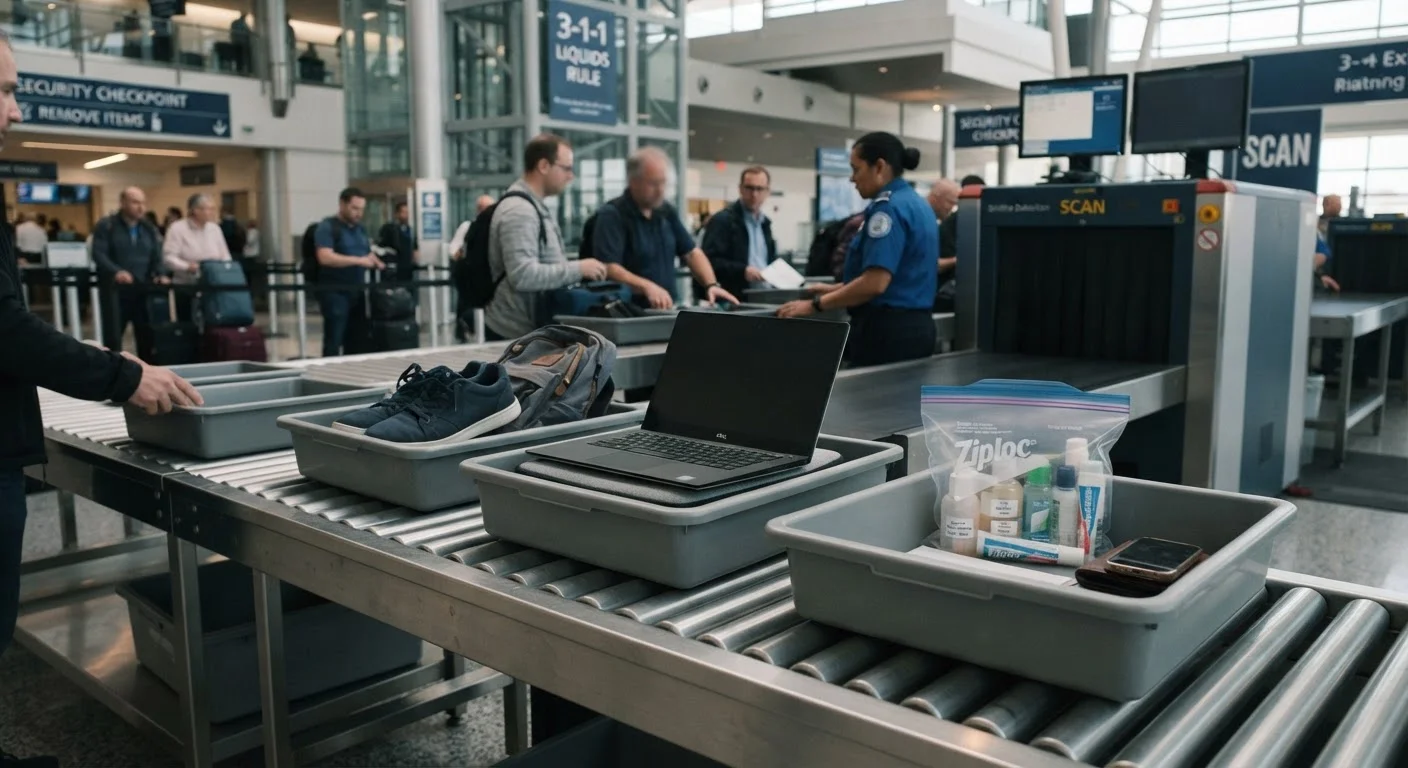
Place all carry-on liquids - toiletries, contact lens solution, hand sanitizer - into containers that hold 3.4 oz (100 ml) or less each. Put everything into a single quart-sized, clear zip-top bag. Only one bag per person is allowed. Seal it and place it at the very top of your carry-on or in an outer pocket so you can pull it out in seconds.
Wear easy-to-remove shoes and minimal metal
Most US airport checkpoints require shoes to be removed and placed in a bin. Wear slip-on shoes or sneakers you can kick off quickly. Avoid belts with heavy buckles, and stow jewelry and a watch in your carry-on before you arrive at the airport. The less you're wearing that needs to come off, the faster you'll move.
Get your ID and boarding pass ready
Before you join the security queue, take out your government-issued photo ID (driver's license or passport) and your boarding pass - digital or printed. Have both in hand when you reach the document checker. Scrambling through your bag at that moment is one of the most common delay triggers.
While waiting in line, start unpacking your bins
As soon as you can reach a bin, start loading it. Place your shoes in one bin. Your liquids bag goes in a separate bin or flat on the belt. Your laptop - and any tablet larger than a standard paperback - must come out of its sleeve and go in its own bin. Bulky jackets and coats go in a bin too. Your carry-on bag goes through the X-ray on its own.
Empty your pockets completely
Remove everything from every pocket - phone, keys, coins, lip balm, tissues, gum. Put it all in your carry-on or in the bin with your shoes before you step into the scanner. A single forgotten item in a pocket will trigger the alarm and require a manual pat-down, adding several minutes to your screening.
Walk through calmly and follow officer instructions
Step into the body scanner when directed, stand on the marked footprints, raise your arms as shown, and hold still for two seconds. If the alarm sounds, stay calm - officers will direct you to a secondary screening area for a brief manual check. This is routine and does not mean you've done anything wrong.
Collect your belongings at the reassembly table
Move all your bins to the reassembly table - not the end of the conveyor - before you start putting things back together. Re-pack at a relaxed pace, put your shoes back on, reload your pockets, and close all your bag compartments before walking away. Leaving the conveyor clear keeps the line moving for everyone behind you.
Common Confusions and How to Handle Them
Medications and medical devices: Prescription liquids in quantities greater than 3.4 oz are generally permitted but must be declared separately at the checkpoint. Pack them in an easily accessible pocket and tell the officer before the bin goes through. For detailed guidance, see our article on travelling with medications.
Food items: Solid food is generally allowed through security. Spreads, dips, and liquids in food form (peanut butter, yogurt, soup) fall under the 3.4 oz liquids rule and will be flagged if they exceed that limit.
Body scanners: Most US airports now use millimeter-wave scanners rather than metal detectors. They detect both metal and non-metal items, which is why pockets must be completely empty - even a forgotten tissue can trigger a secondary check. Many assumptions travelers carry about scanners are simply outdated; our piece on common assumptions about airport security that aren't true sets the record straight.
Prohibited Items Will Be Confiscated
Items that are not permitted through security - certain tools, liquids over the limit, restricted sharp objects - will be confiscated at the checkpoint with no exceptions. You will not be able to go back and check them. Review the TSA's prohibited items list at tsa.gov before you pack, especially if you are unsure about a specific item.
Once you're through, re-pack calmly at the reassembly table - not at the conveyor belt, which blocks the flow for others. Think ahead about what you'll need during the flight before you stow your bag in the overhead bin. Our carry-on bag guide walks you through what to keep within reach once you're on board.