Why the Pickup Process Trips Up First-Time Renters
The reservation is just the beginning. The rental counter is where the process gets complicated — and where many first-timers end up spending more than they planned. Agents move quickly, offer multiple add-ons in rapid succession, and use terminology that can feel designed to confuse. None of that means you're being deceived, but being unprepared puts you at a disadvantage.
Understanding the mechanics in advance changes the dynamic entirely. When you know what questions to expect, what you've already covered through your credit card or personal insurance, and what to look for on the vehicle, you move through pickup as an informed renter rather than a rushed one. It's also worth reading up on common first-timer misconceptions so you don't walk in with false confidence in the wrong areas.
What you will need
Step-by-Step: From Counter to Car
Confirm your reservation details before you reach the counter
Pull up your confirmation email or app before you join the queue. Verify the vehicle class, pickup location, return date and time, and the name on the reservation. If any detail is wrong — especially the return date — it's far easier to resolve before an agent starts processing your contract than after.
Present your license, credit card, and confirmation number
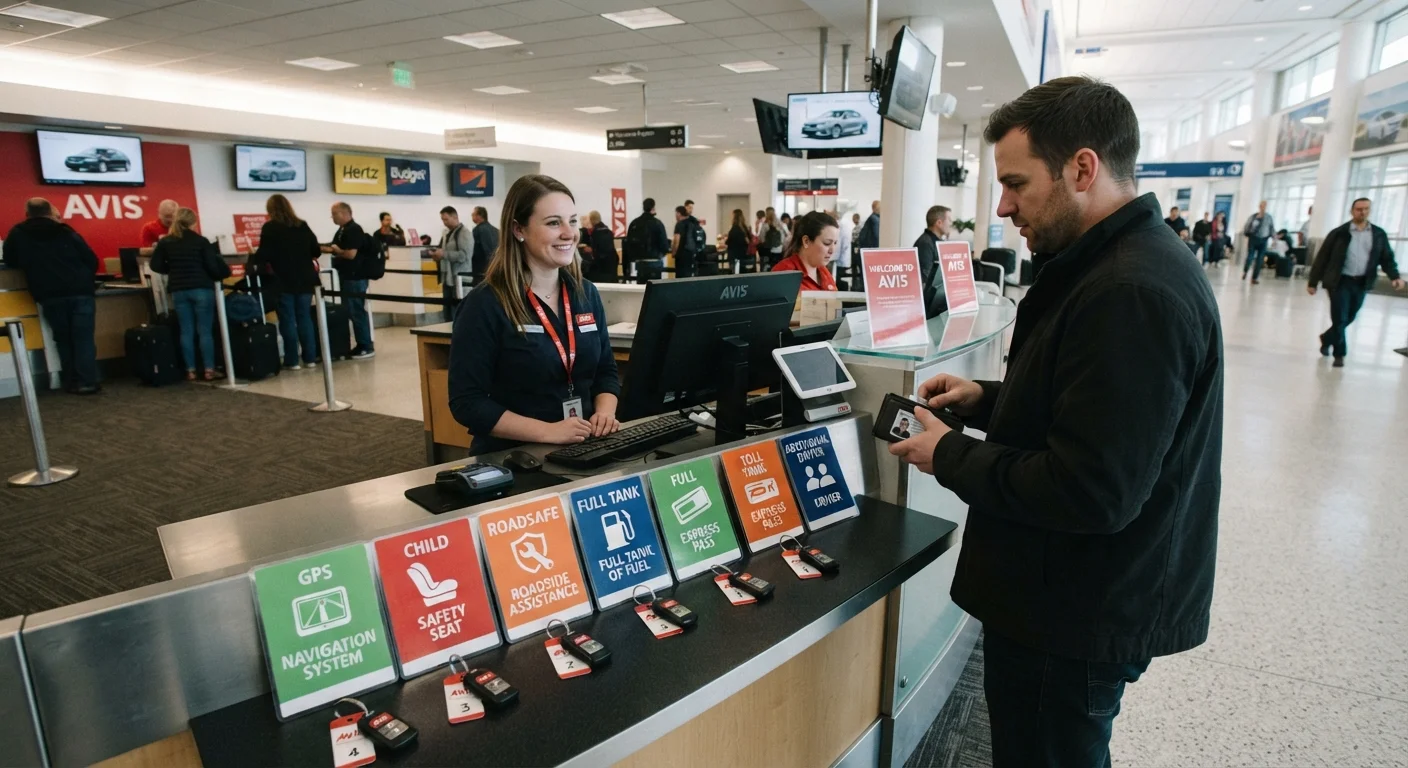
The agent will ask for a government-issued driver's license and a credit card in the primary driver's name. Most companies place a security hold on the card — often $200–$500 — which is released when you return the car undamaged. Debit cards are accepted at some locations but frequently trigger larger holds, age restrictions, or additional verification requirements. Confirm your card's policies before you travel.
Evaluate each insurance and coverage option clearly
The agent will offer a collision damage waiver (CDW), liability supplement, personal accident insurance, and possibly roadside assistance. Each adds a daily fee. Before declining or accepting anything, know: does your personal auto insurance policy extend to rentals? Does your credit card provide secondary rental coverage? Accepting redundant coverage is a common and avoidable expense.
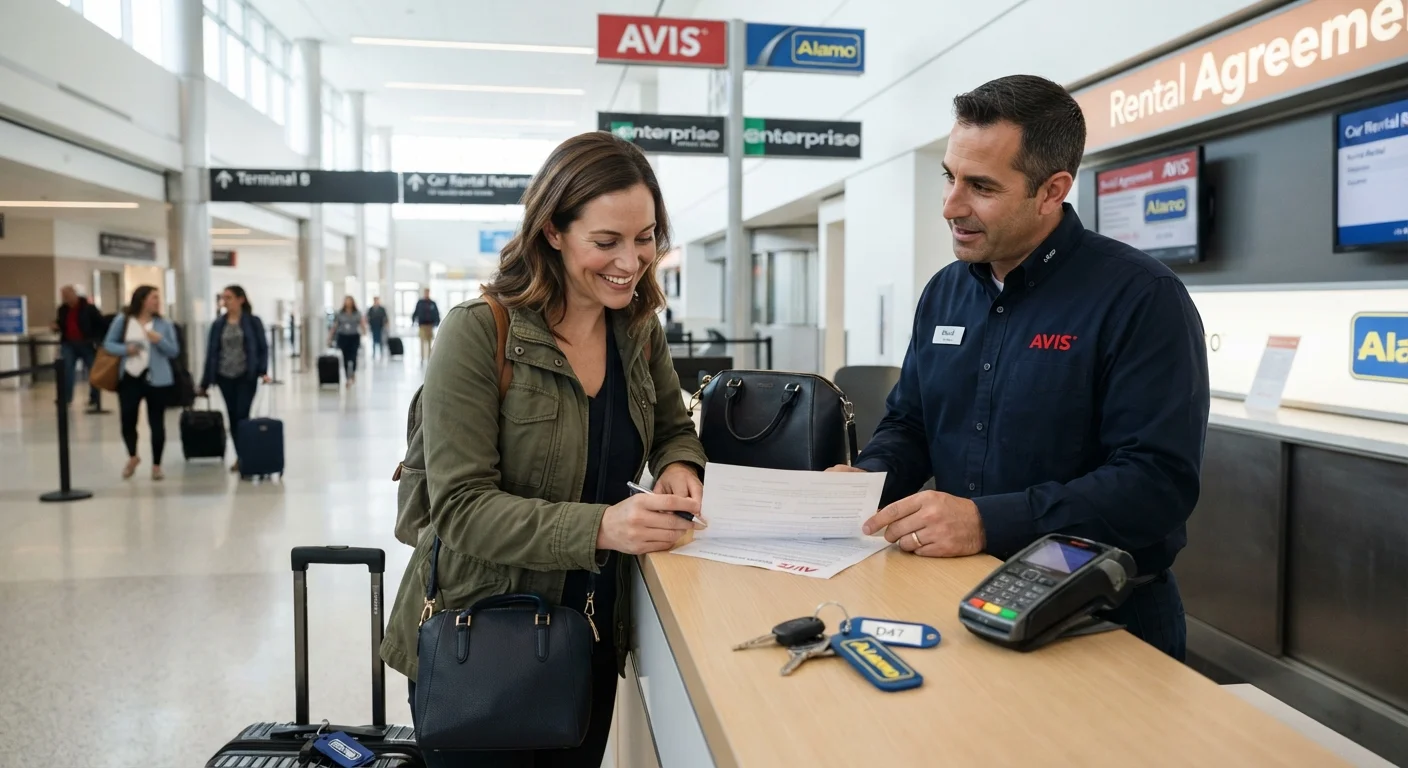
If you're uncertain, ask the agent to pause briefly — this is a contractual decision, not a time-pressured one. You have every right to read what you're signing.
Clarify the fuel policy before accepting the keys
Rental companies typically offer two fuel arrangements: full-to-full (you return the car with a full tank) or prepaid fuel (you pay upfront for a tank at a set rate). Full-to-full is usually the more economical choice for most renters. With prepaid, you pay for a full tank regardless of how much fuel you actually use.
Inspect the vehicle thoroughly before driving away
Walk the entire car — including the roof, door sills, and bumpers — and compare what you see against the condition diagram on your rental agreement. Point out any damage the agent missed and ensure it is marked on the contract before you sign. Do not assume that small scratches are already noted.
Take timestamped photos and a short video of all four sides, the interior, and the fuel gauge. This is your most important protection. See our dedicated guide on how to document a rental car at pickup for a complete checklist.
Familiarize yourself with the vehicle's controls before merging into traffic
Take two minutes in the parking structure to locate the windshield wipers, headlights, hazard lights, parking brake, and fuel cap release. If the car has unfamiliar technology — a backup camera, lane-assist warnings, or an electronic parking brake — a brief orientation now prevents distraction on the road.
Never Leave Without Documenting Damage
Any scratch, dent, or scuff not recorded on your rental agreement before you drive away can be attributed to you at return — even if you didn't cause it. This is the single most common source of unexpected charges for first-time renters. Always walk the car, note every imperfection on the contract, and photograph everything with a timestamp before pulling out of the lot.
Once you've completed the steps above, your final responsibility before leaving the lot is documentation. Photographs and written notes of every scratch, dent, or scuff are your primary protection against being charged for damage you didn't cause. Our guide on documenting a rental car at pickup walks through exactly what to photograph and how to note it on your rental agreement.
Closing Out and Looking Ahead
Pickup is only one half of the rental experience. The return process carries its own risks — particularly around fuel levels, after-hours drop-offs, and damage disputes. Preparing for that step now, while details are fresh, will save you stress at the end of your trip. See our full guide on returning a rental car without disputes to close out the process confidently.
If your travel involves dropping the car in a different city than you picked it up, be aware that one-way rentals come with specific fees and fleet rules. Our overview of how one-way car rentals work explains what to expect before you commit.
Prepare for Return Before You Need To
Note the return location's address and hours as soon as you pick up the car. If you're returning after hours or to an unstaffed lot, know the procedure in advance — some companies require you to drop keys in a box; others need a photo upload via app. Returning with a full tank and verifying the odometer reading with an agent (when possible) closes your rental cleanly and leaves little room for disputes.